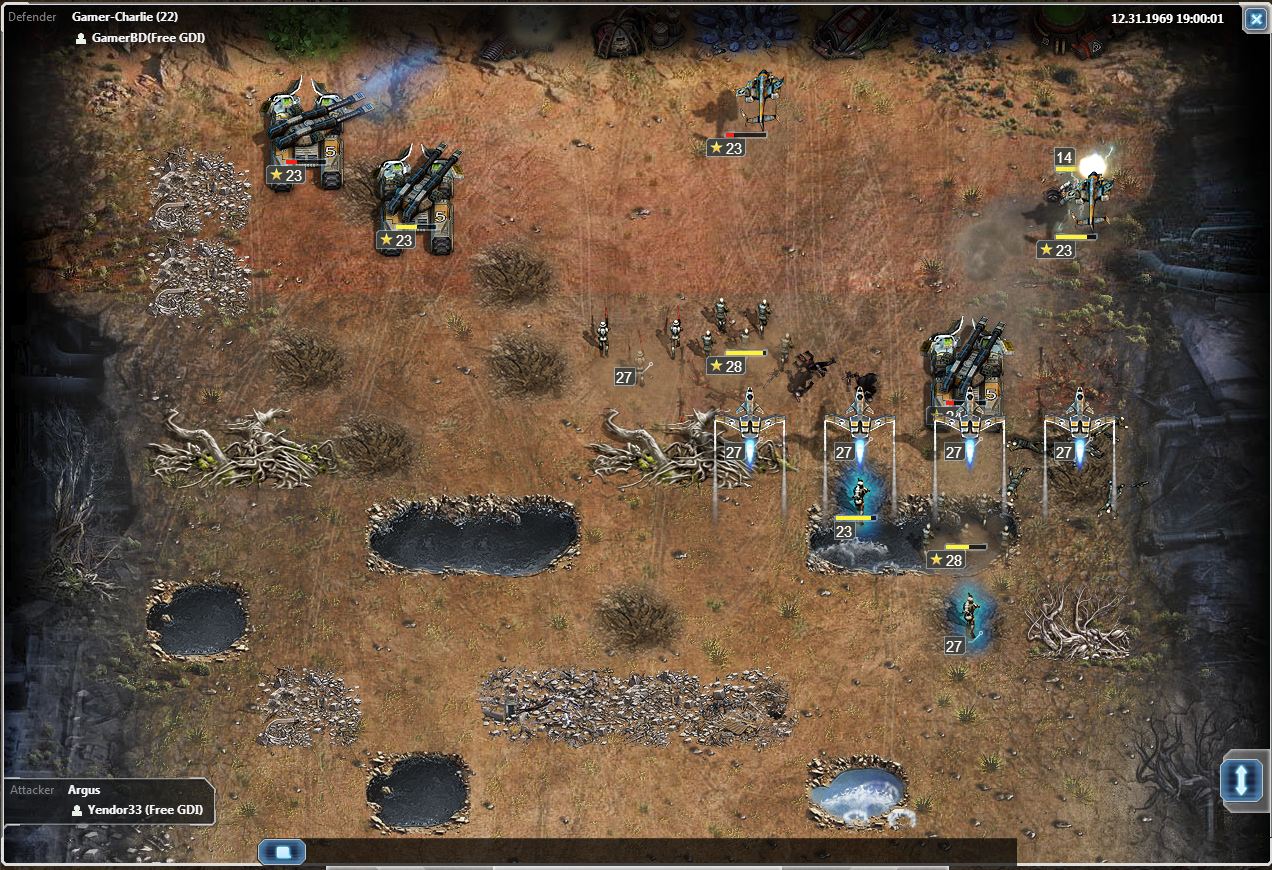
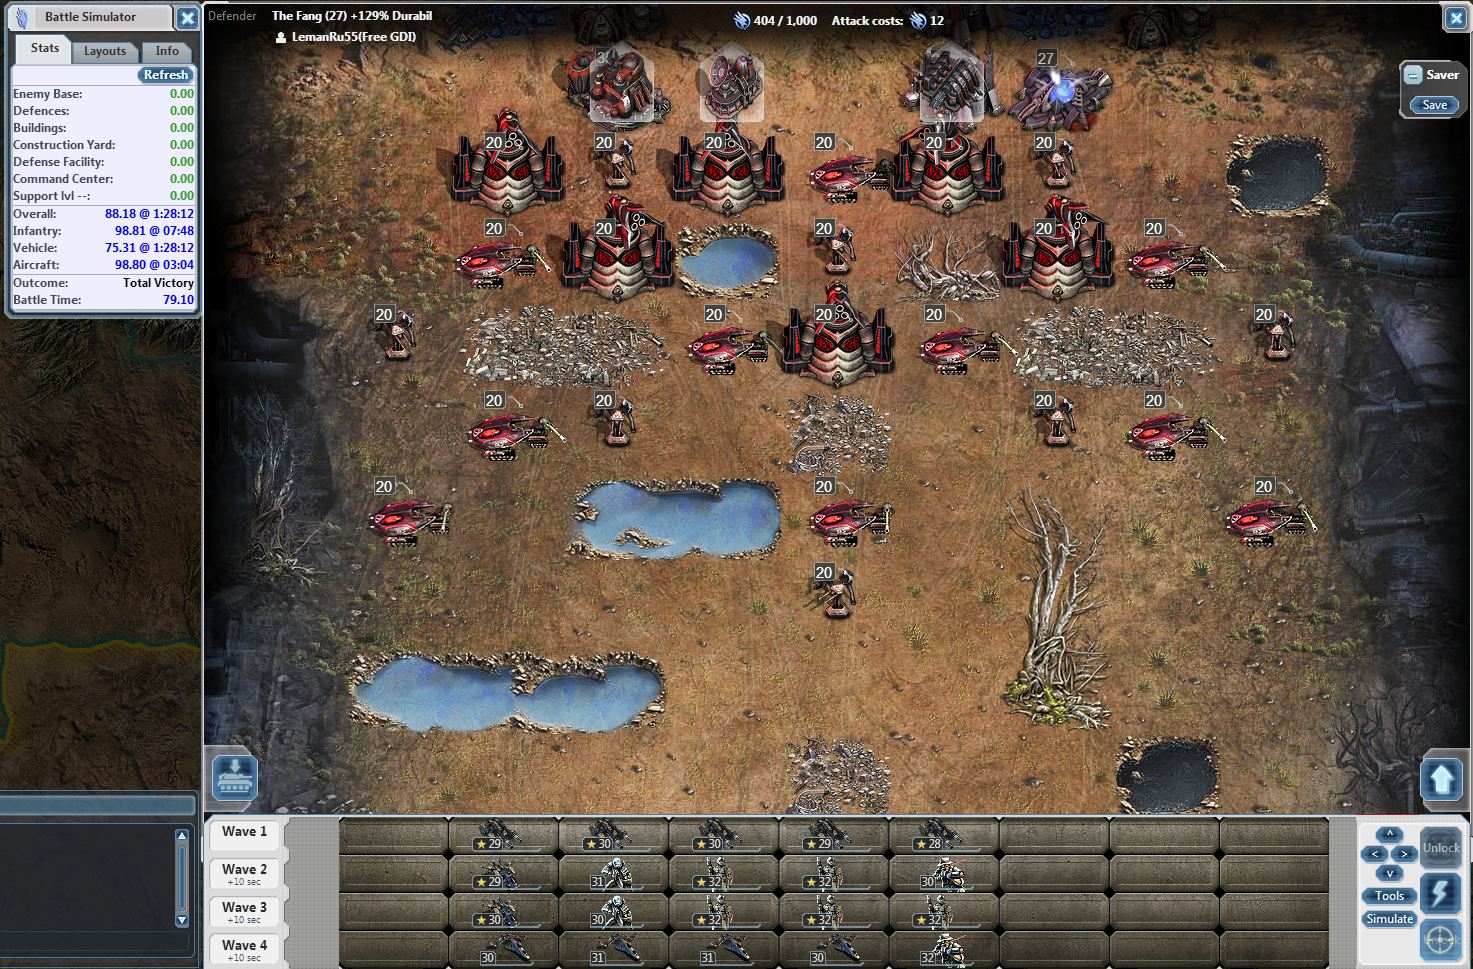
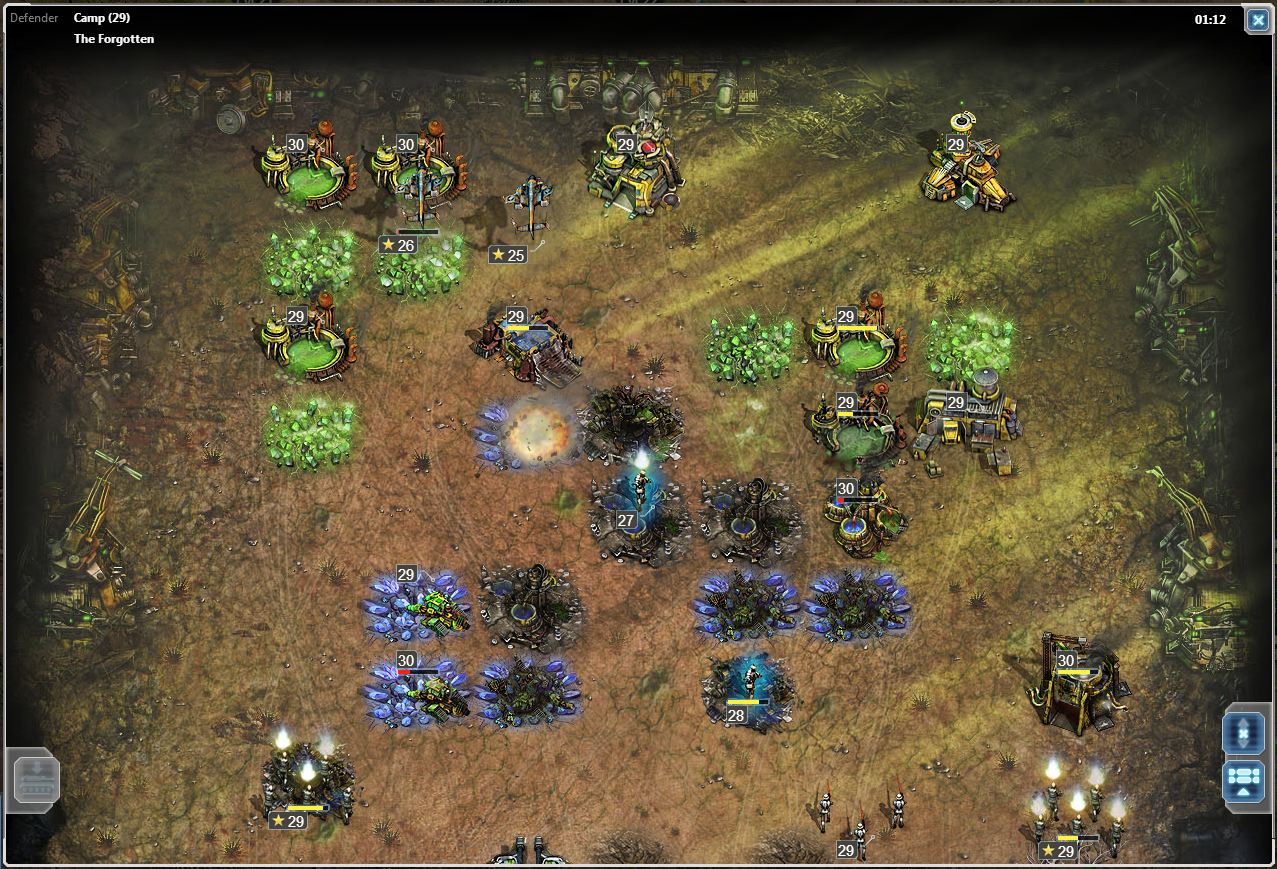
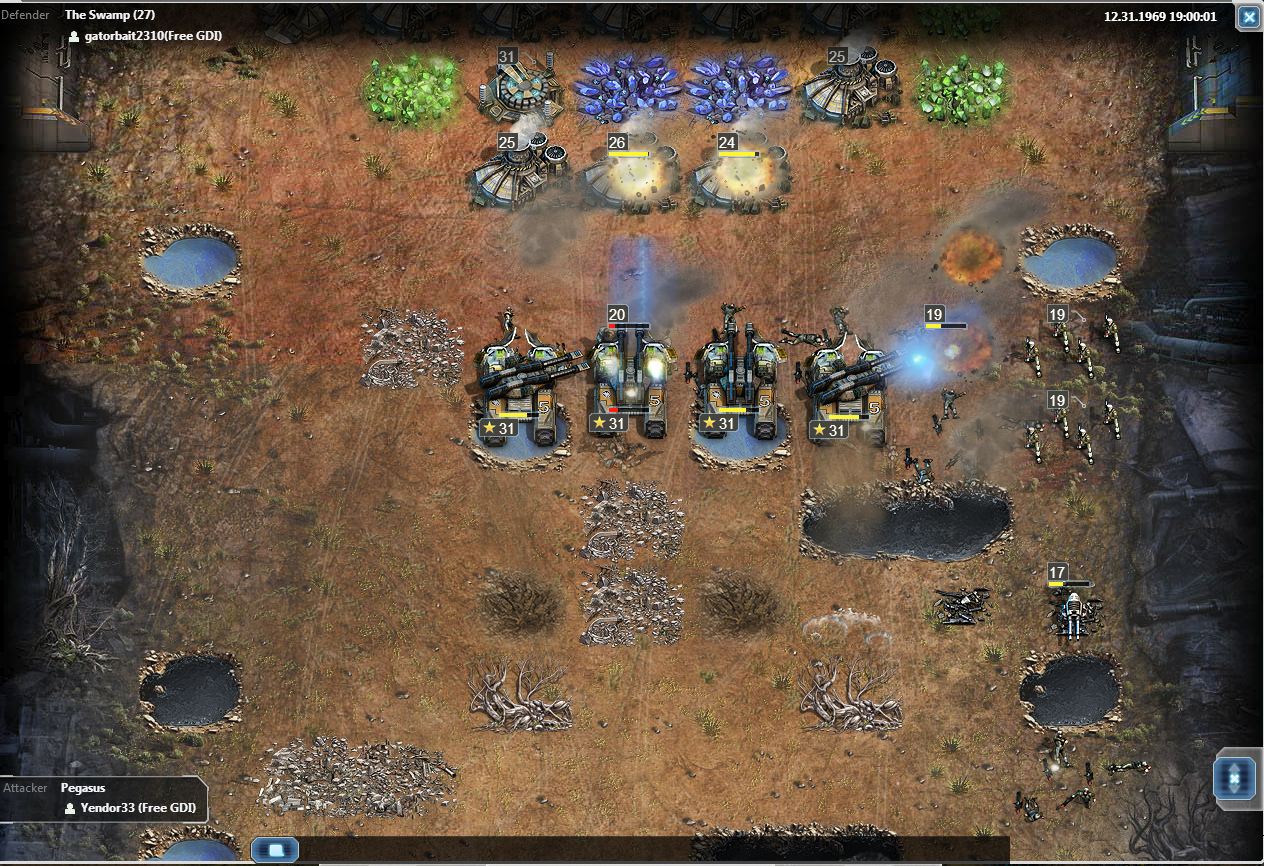
PvP Action
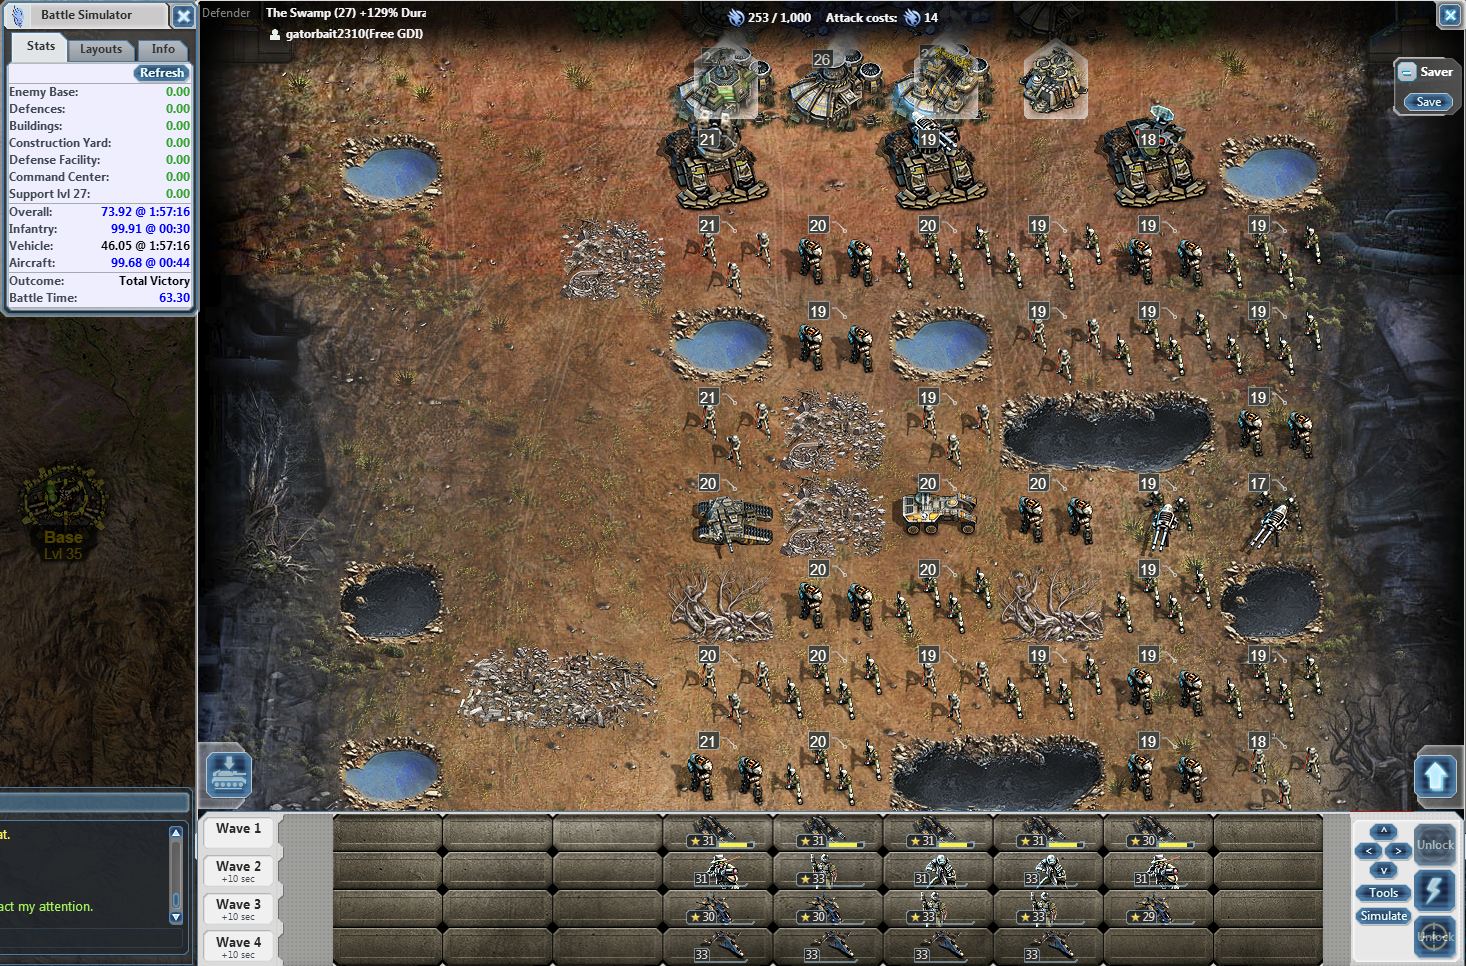
A NOD Defense of 20, with a Resonator Bonus of 129%, is no match for a Level 31 Offense.
The Importance of Commandos
This sections will show that if you can get a Commando into the backfield, where the buildings are, they are priceless because they finish up what the Air Attack could not finish. Commandos are fast and do as much damage as Juggernauts. They typically can fire seven times in the backfield.
Here is a Commando finishing a Construction Yard that Fire-Hawks Could Not Reach
And again here are two more pictures of Commandos finishing off what the rest of the Attack Could not do:
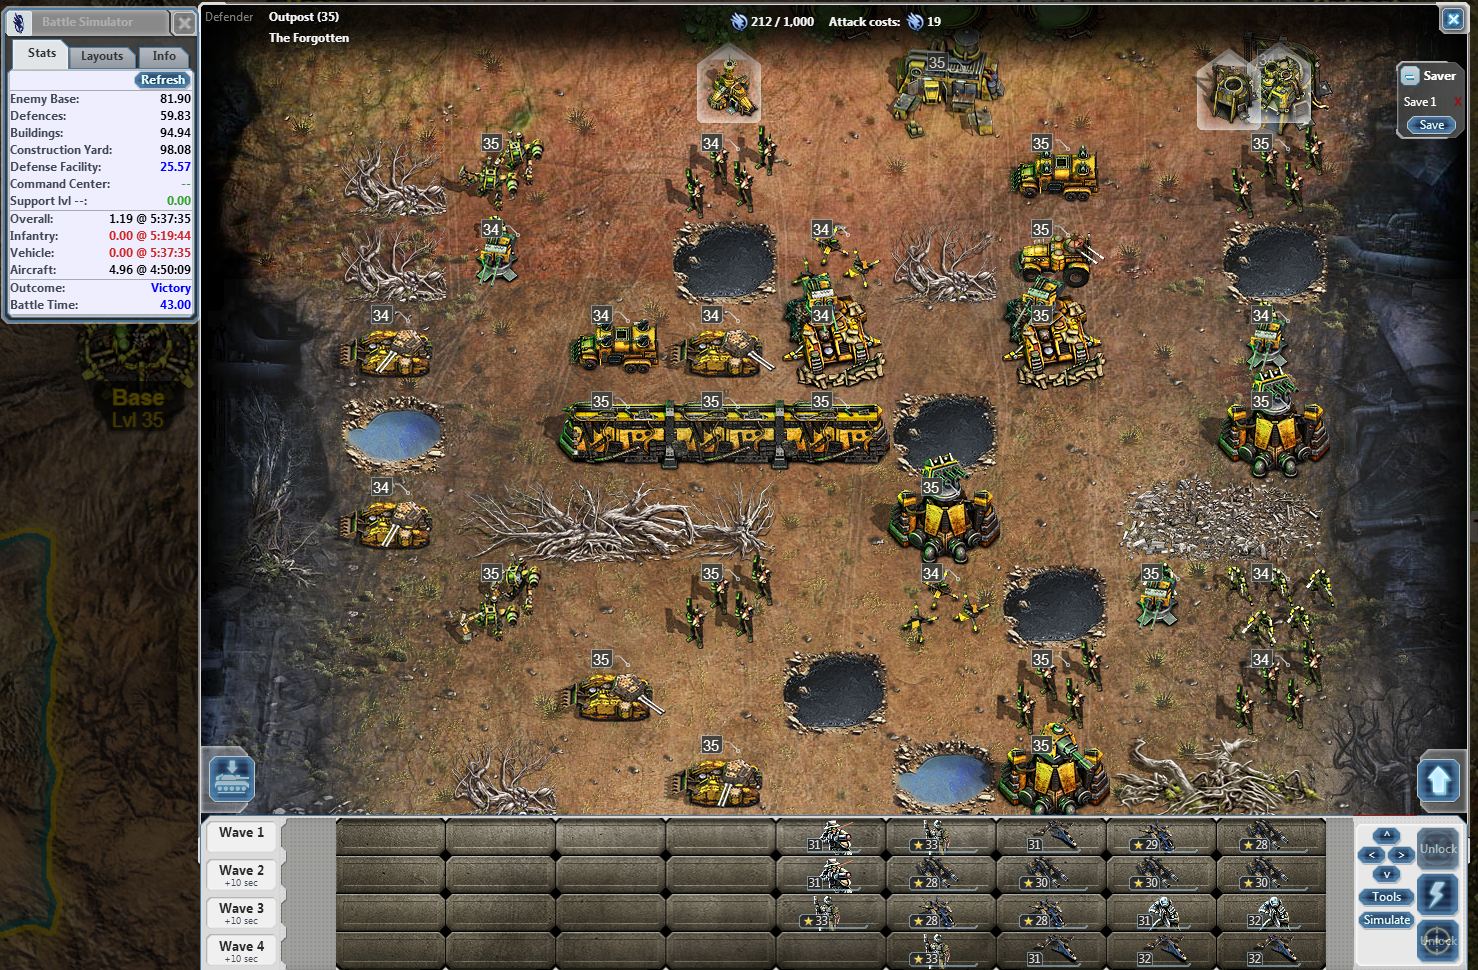
Importance of Planning – The Sniper
This section will demonstrate that with the most unique moves, the ones you would least expect, are often the most deadly or effective. The first picture shows what a 5 minute planning session turned up, but that wasn’t good enough for me.
Results of Simulator Before Sniper is Moved into Correct Position:
I never would have thought that replacing an Orca with a Sniper in front of a tank could have such drastic results. So another 5 minutes of planning and I tried the Sniper in place of the Fire-Hawk and voila, a 1-Hit Kill.
Simulator Results of Sniper in Proper Position:
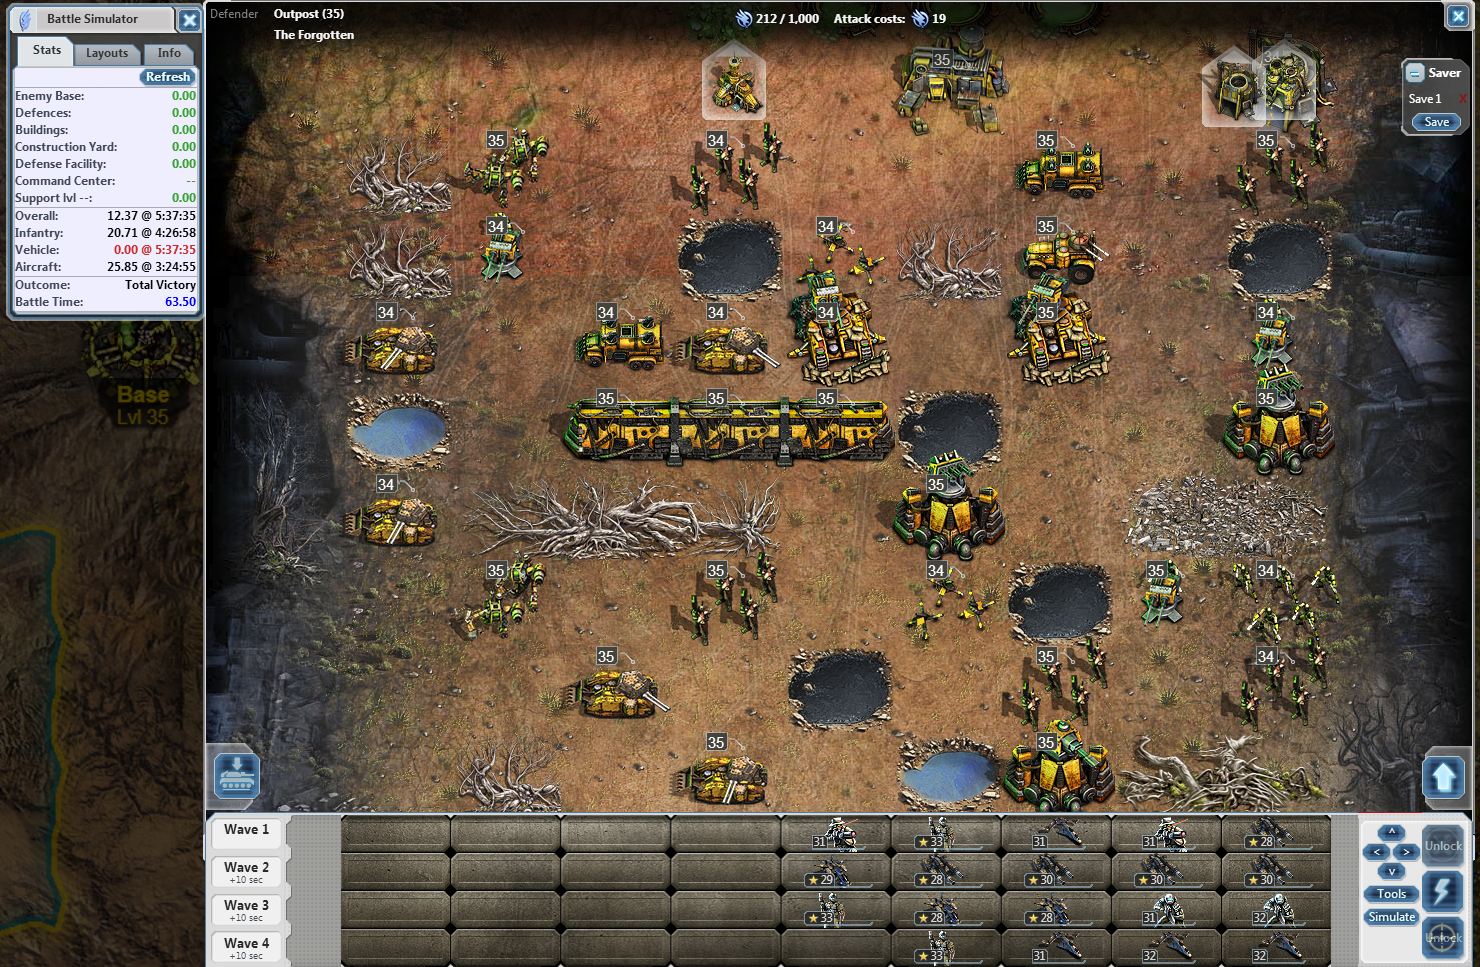
And the End Result of the Sniper – 1 Commando to Finish the Job:

Importance of Planning – using a Fire-Hawk for a 1-Second Distraction
Planning can make all the difference in the world, as noted above. I planned this for 10 minutes to get this close to winning CY=51. Watching the simulator run its graphic course is also important, so that you can time your distractions perfectly. In this case, I saw that the Anti-Air Bus was damaging my rightmost Tank, so I randomly wondered what would happen if I put another Fire-Hawk, which wasn’t doing much damage on the columns with the CY on it, in between the tanks and the Anti-Air Bus.
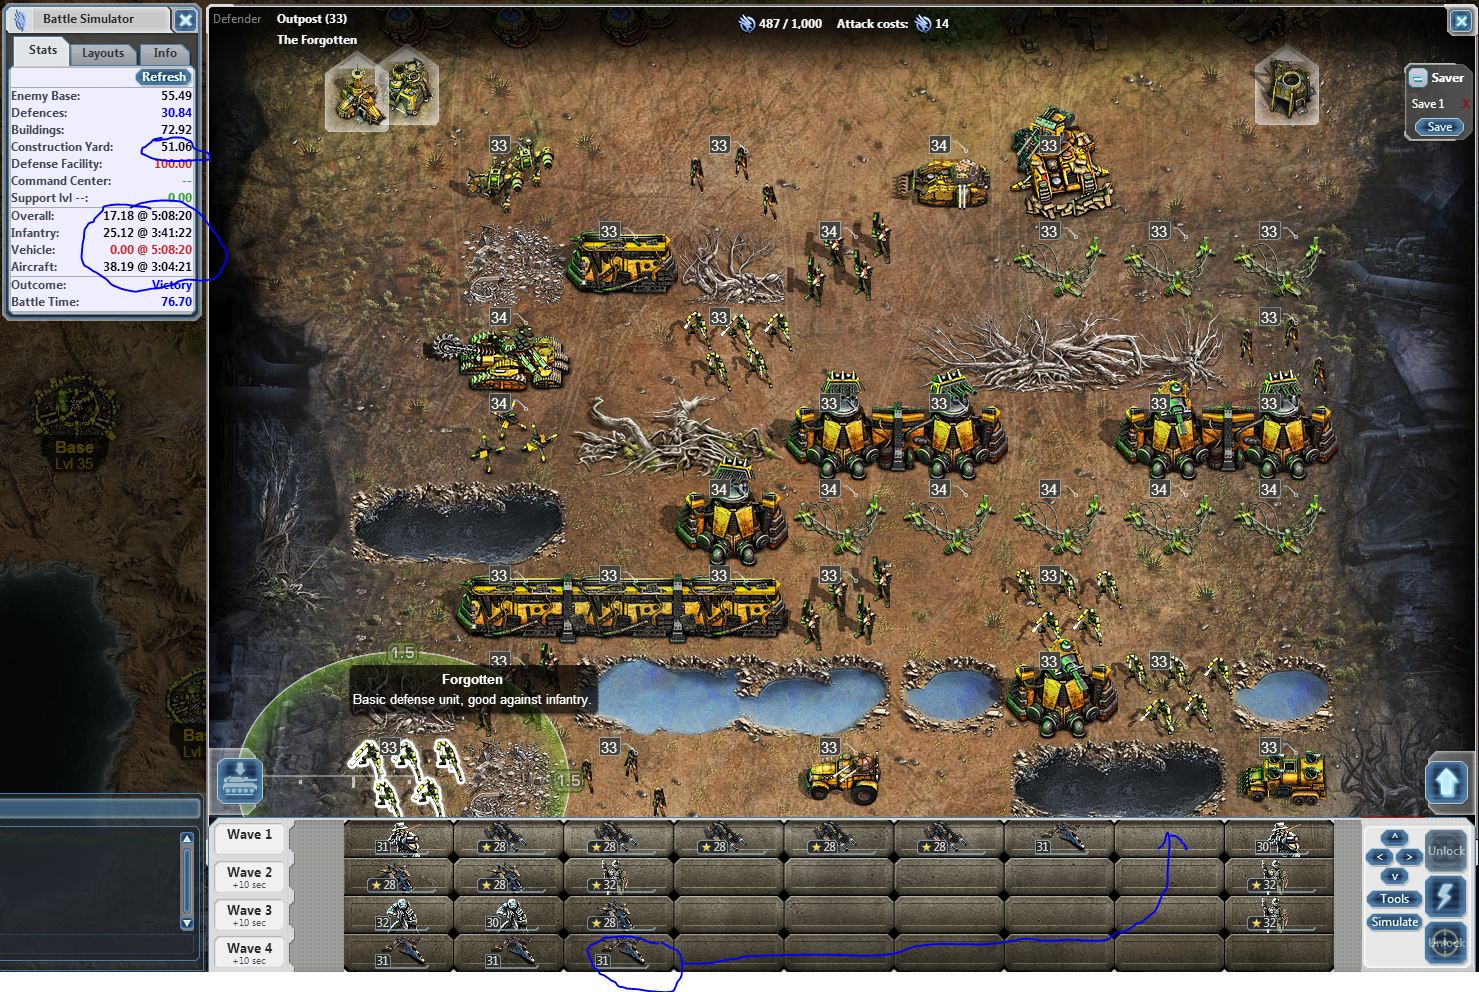
The Fire-Hawk gets killed by the flak tower, but it serves as a distraction to keep the anti-air bus away from the rightmost tank, thus the tank had no damage going to the second row and beyond. Damage affects hit-points of course, but even a little damage will hurt the efficiency of the attack strength. So here, with another strange move one wouldn’t naturally think of, the simulator quickly shows it as a win without having to test your layout in actual combat.
Importance of Planning – Juggernauts That Get in the Way
Typically a distraction that pulls away attack vehicles is a good thing. So I set the Juggernaut on the right side thinking it would distract the anti-vehicle vehicles. I was wrong. Here are the Simulator Results where the Juggernaut is used as a distraction that results in CY=54.
Just for grins, having thought I got as close as possible but wanted to save some Repair Time, I disabled the Juggernaut and was shocked by the results. The simulator shows a complete win:
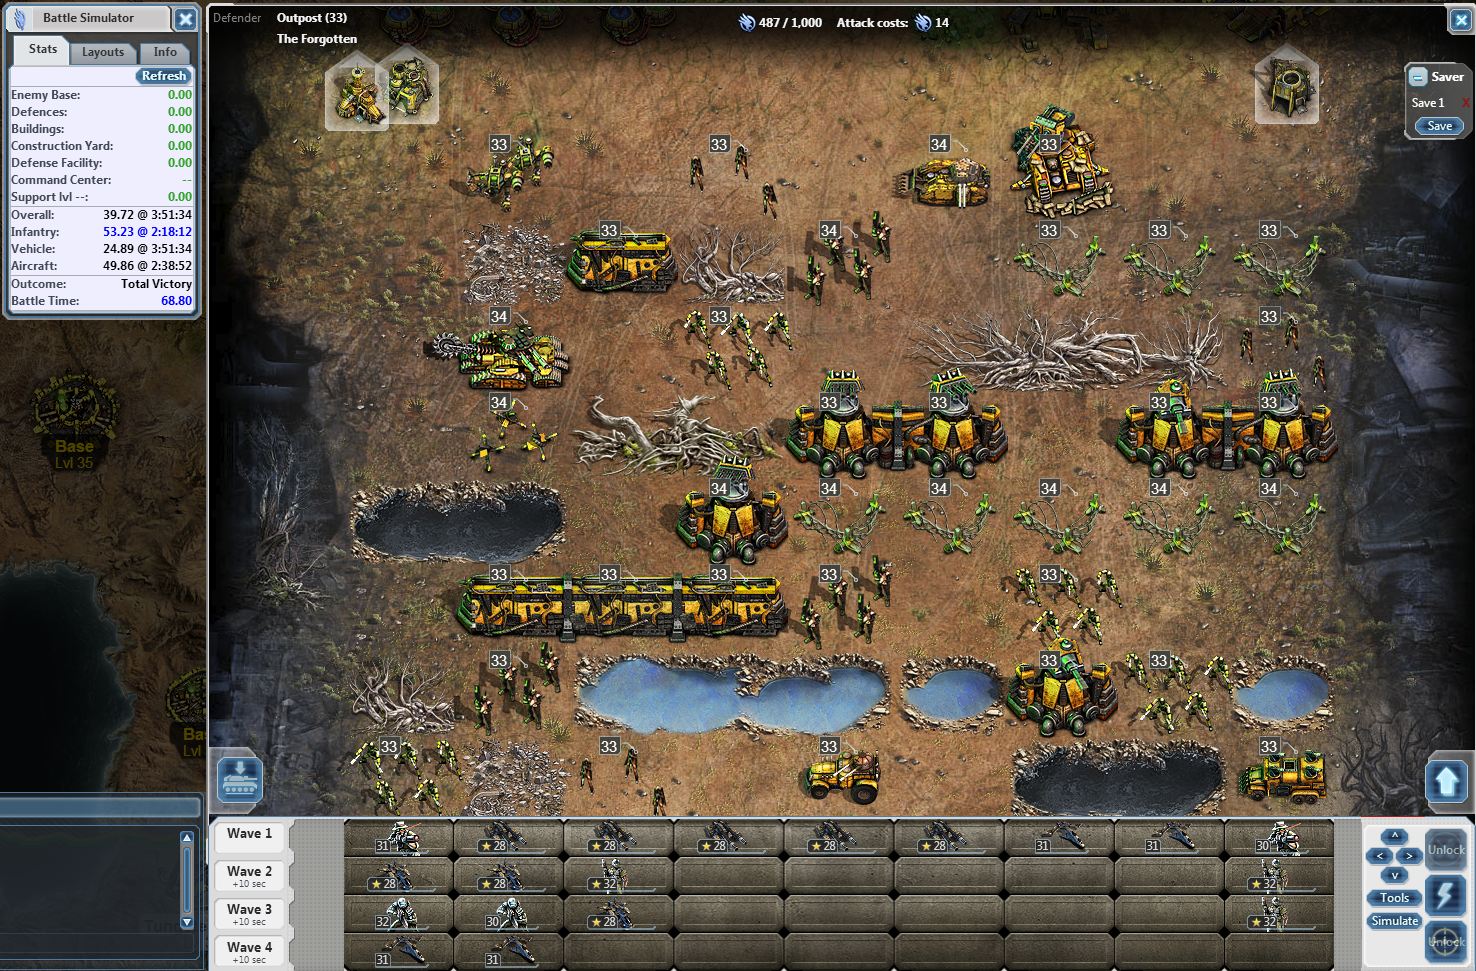
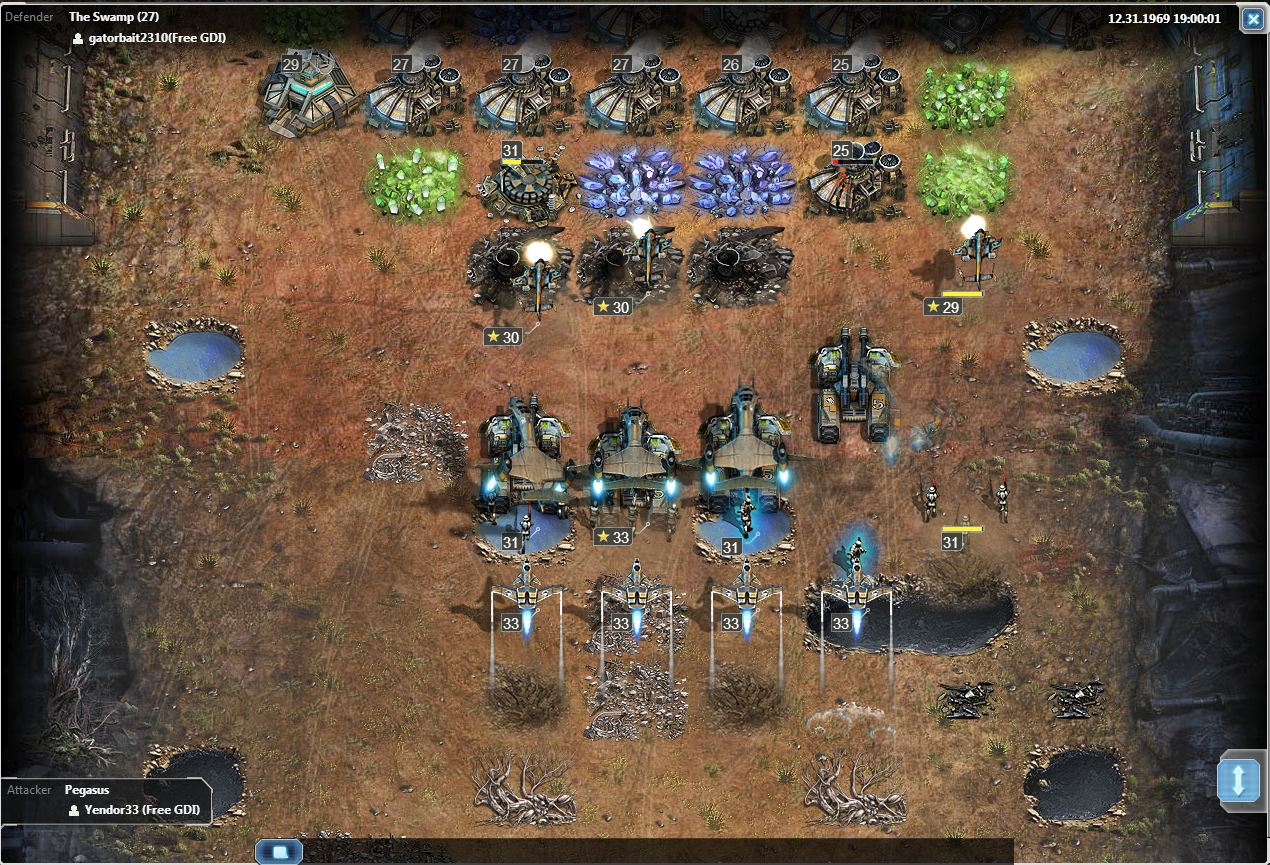
PvP versus a Gator
A Level 27 Offense consisting of MG Nests, Walls, Guns in Walls (Guardian Cannon and Flak Towers) are no match for a Level 32.5 Offense, though it does cost considerable RT on the vehicles.

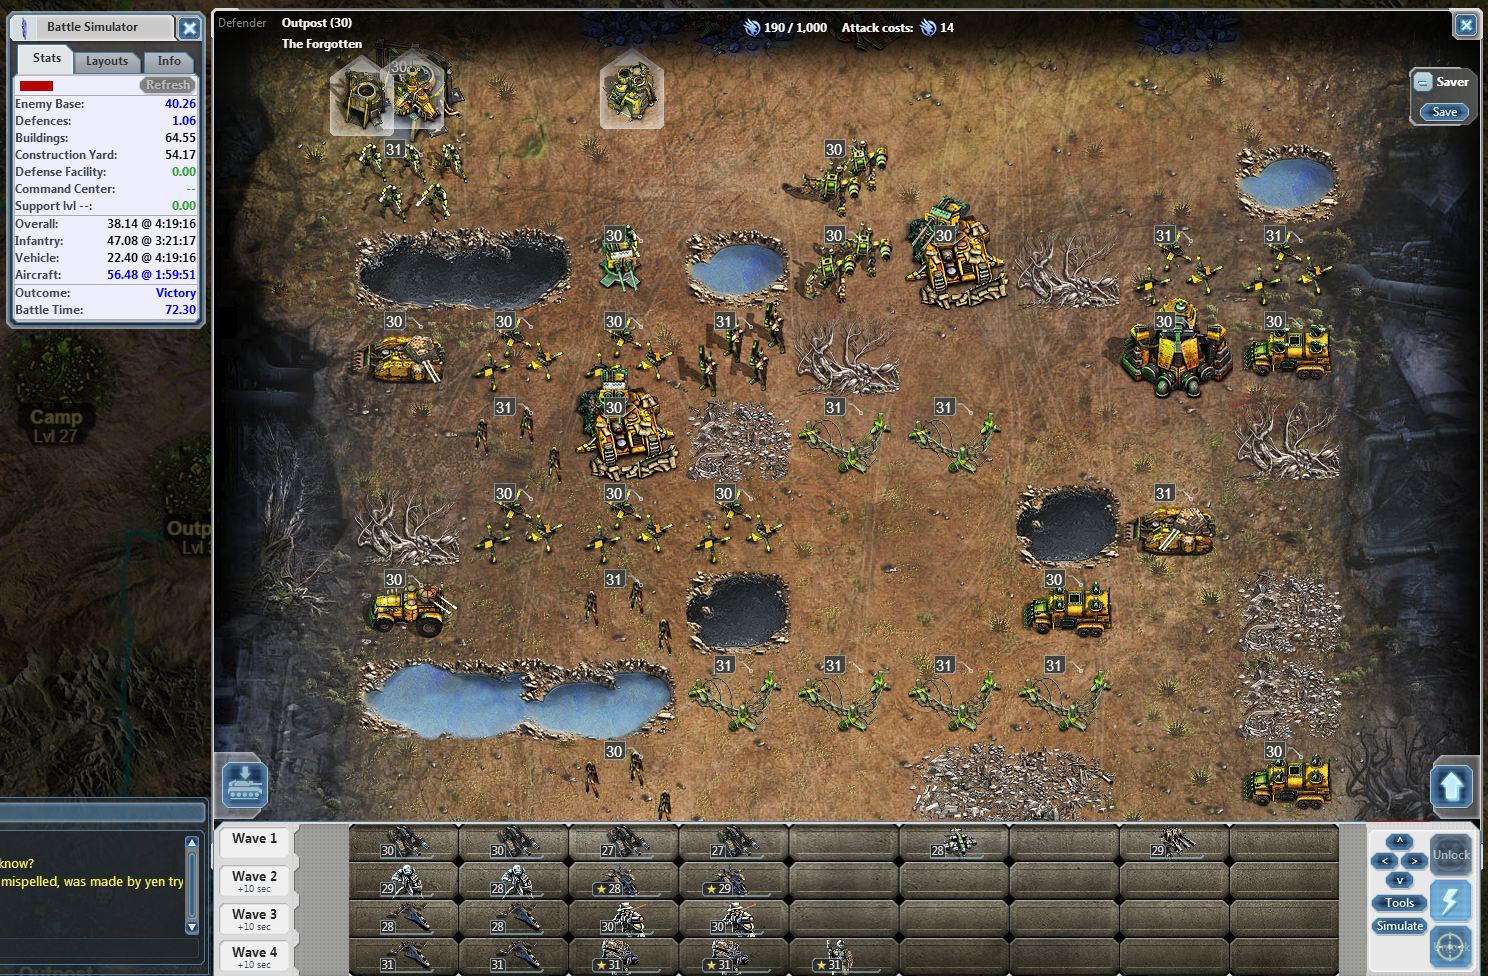
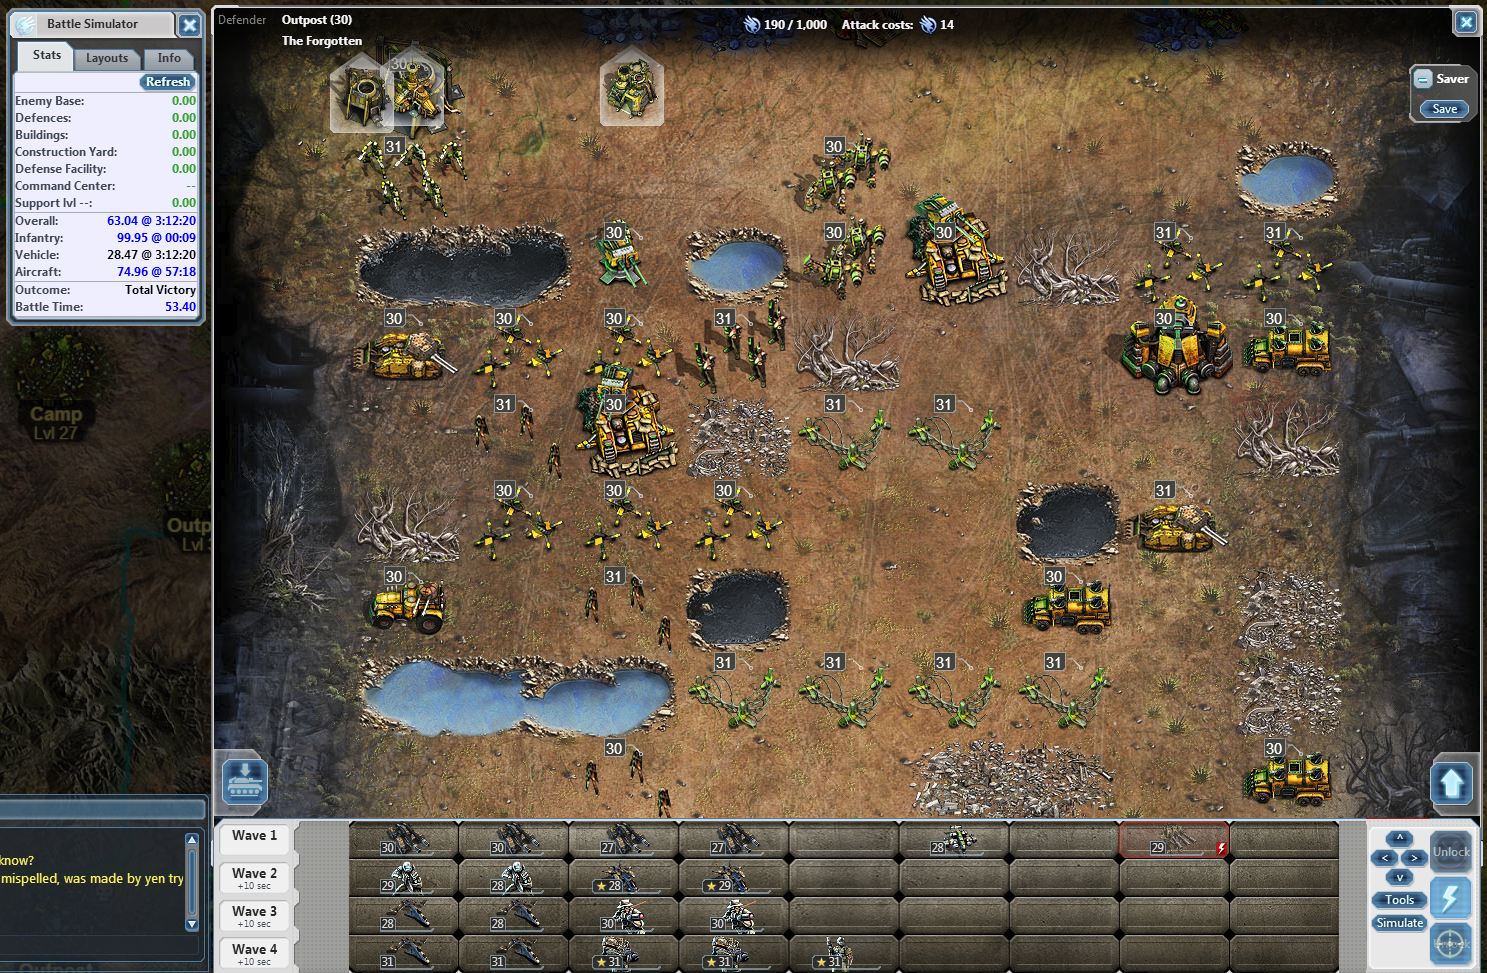
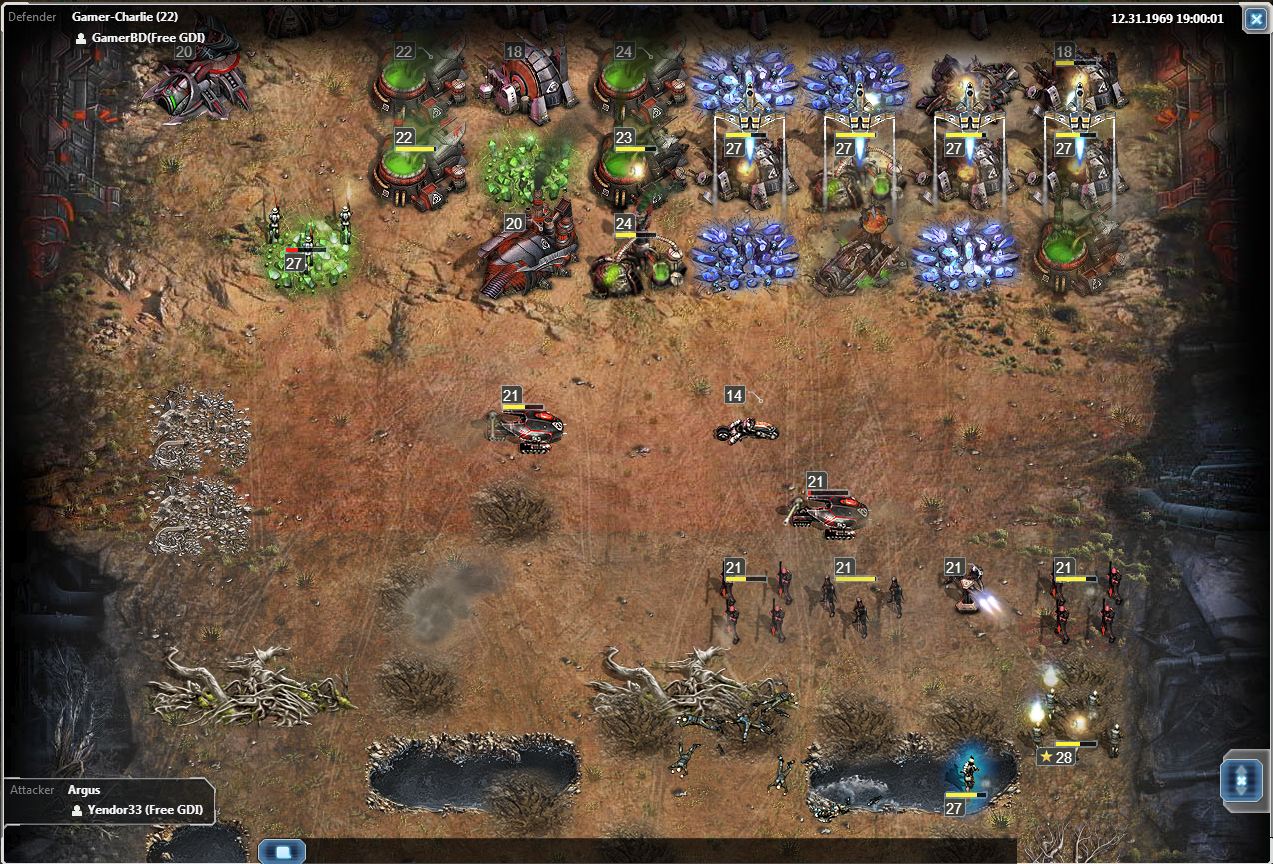
Gator is changing his defense to one used on World 39 by his enemy, but its no match at Level 20. I’ll show the results again when he reaches Level 27. Again, a Level 32.5 Offense against a Level 20 Offense:
And here are two pictures of the results, first showing the tanks break through, then the Infantry and Air Assault:
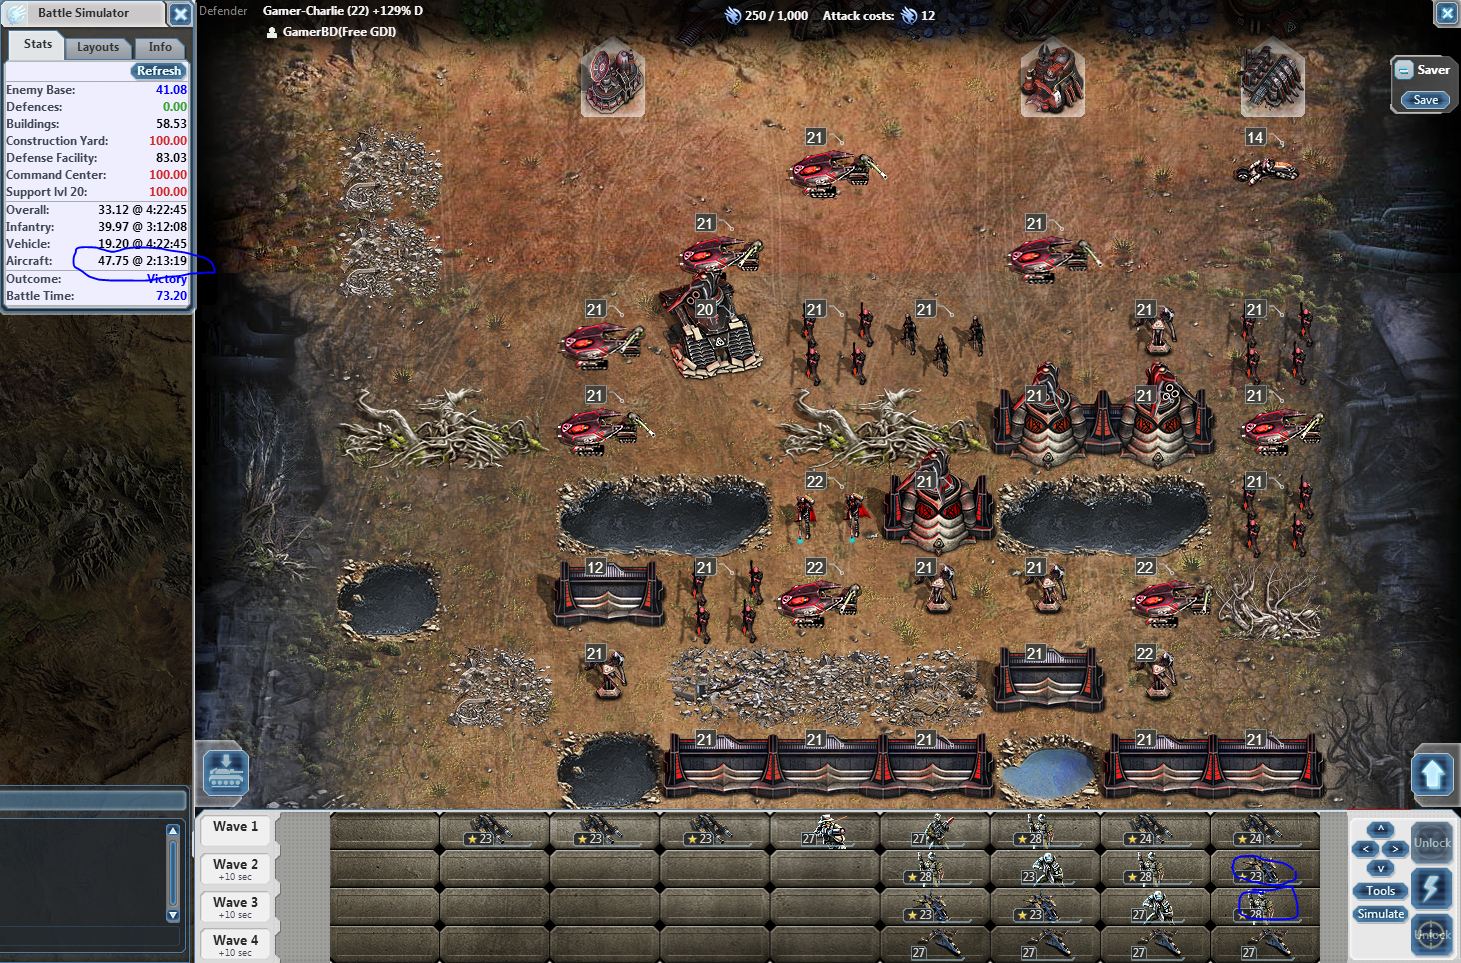
Importance of Planning – PvP Style
In this section I show an attack by a Level 26.5 Offense against a Level 21.1 Defense. In any PvP attack you need to make sure to get a 1-Hit kill. Otherwise he’ll attack you and possibly break through your defenses and kill you during the cool-down before you can attack again. Since I wasn’t exactly going to attack my own teammate, I had all the time in the world. In fact I had too much time because I spent 15 minutes switching things around and couldn’t scratch his CY. I had seen some scenarios where I damaged his DF, so I was trying to get back to that and after 20 minutes total this is where I stood:

And here are the results of that attack, in mid-attack (showing the planes damaged and no way for the infantry to get by the last group of MG Nest, Infantry, and Tank):
Just by looking at the numeric results, and verified by watching the graphic simulator picture above, I knew my planes were getting hurt by that SAM Site (just a second before it was active, the tank killed it a micro-second before being killed itself) and the Flak Towers which were where my tanks had ended up dead, and which were killed by the Fire-Hawks flying over them. So I thought if I moved a tank beyond his left defenses maybe it would get through quick enough to kill the SAM Site (note: most people leave their very expensive SAM Sites open to such an attack). And the numbers showed I had managed to touch his DF which was on the far right:
And here are the results of that attack, in mid-attack (the left Flank of Tanks make it through, while the right is weakened enough such that the Level 27 Commando will walk all the way to the DF in the back right):

Had this been an attack against an enemy I might have taken those results and ran with them. But I had time, too much time, and I had finally found a way to completely destroy his CY, but it took a total of 30 minutes to plan because PvP offers different strategies because the Defense is intelligently designed, not randomized. In this case, I again show you the stunning results of just moving one piece, I move the rightmost Orca back one row forcing the Rifleman up one Row:

The results are stunning, that one change and his CY=0! Here is the attack in its middle (the Orca had frozen the Flak towers long enough for the remaining tank to kill them, the Fire_hawks are undamaged, and the Orcas helped eliminate the last of the defenders, leaving the way open for both Commandos to get to the backfield, and from the start of this page that is a devastating attack indeed):